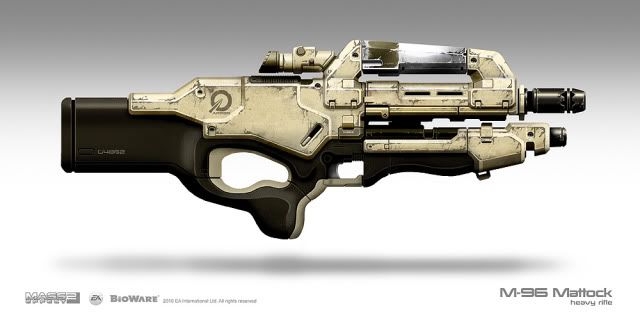
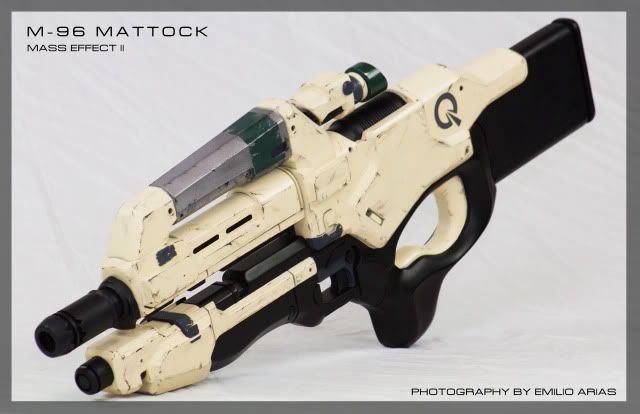
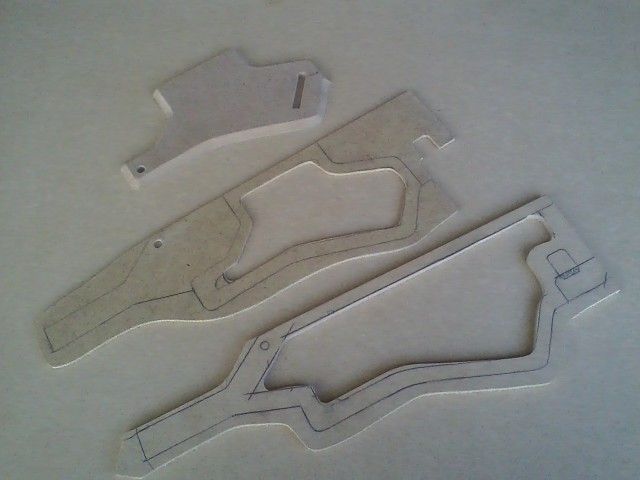
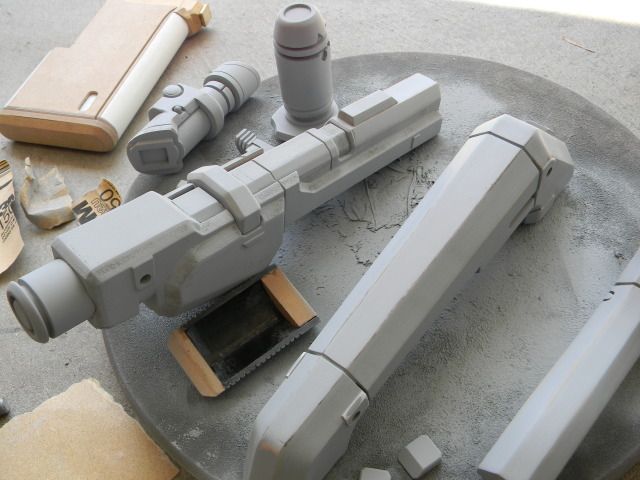
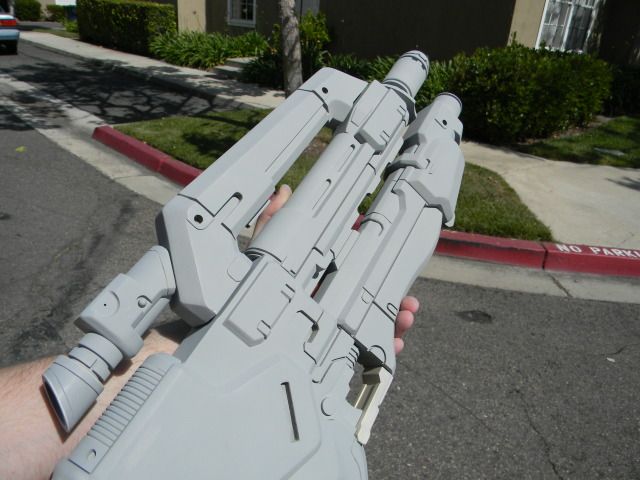
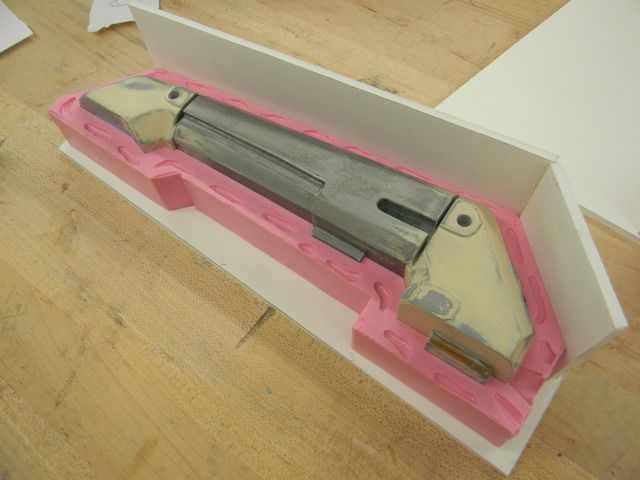
So for those of you who don't know, I built this guy already at 28.5 inches long.
that particular gun had to be shipped to France, so I wasn't able to keep it. This one however, will be made with molding in mind, is 31.5 inches long, and I actually get to keep it! (or two)
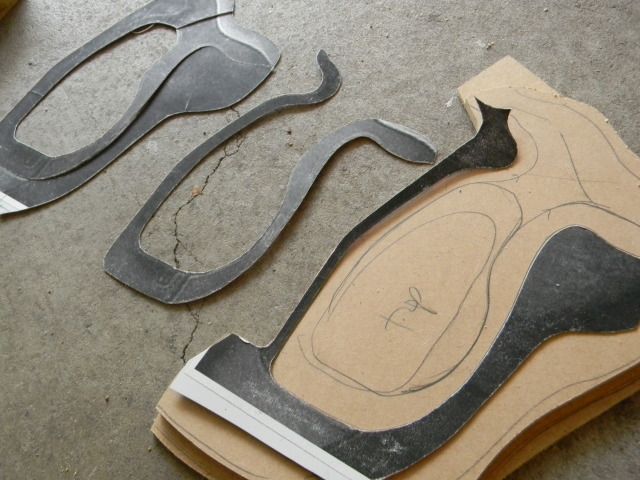
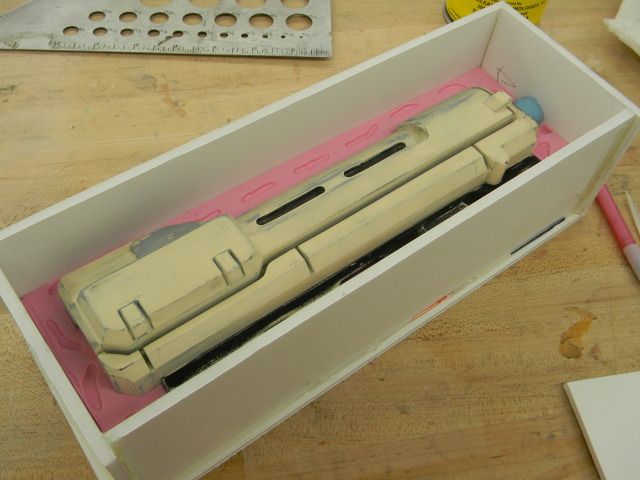
I have to somehow top my last build:
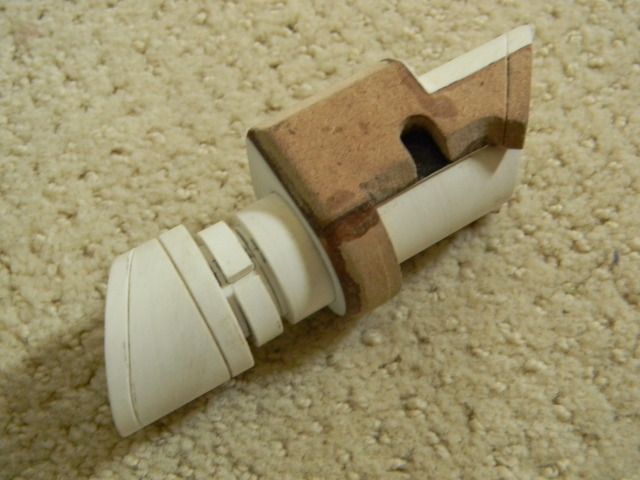
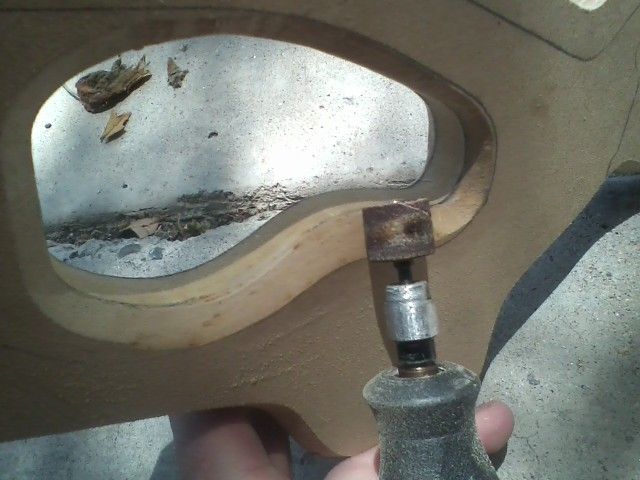
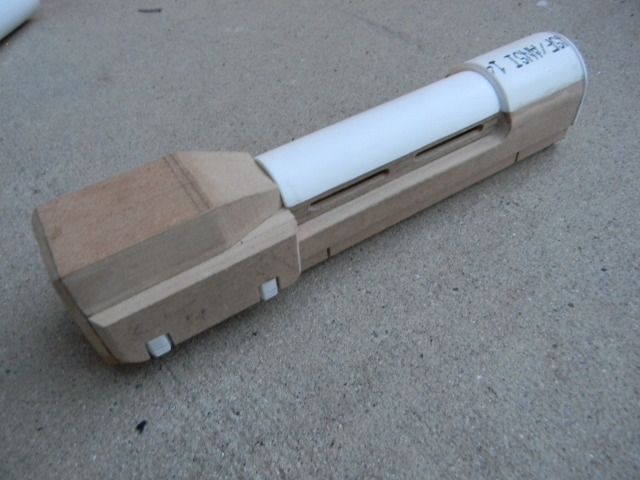
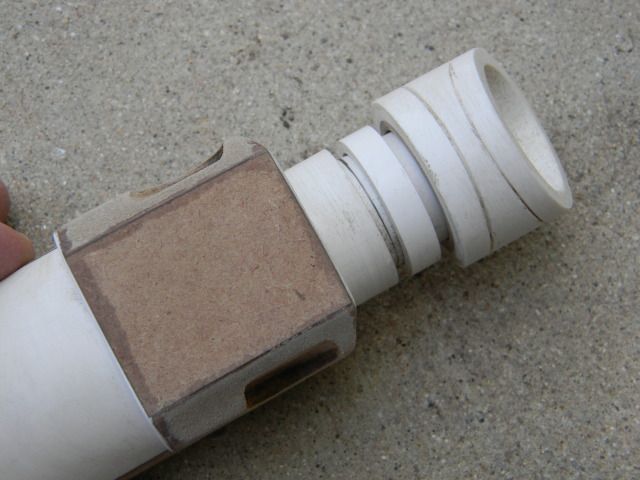
I started with the Scope. This one has a few details that my first one didnt have. Still needs knobs n' stuff.
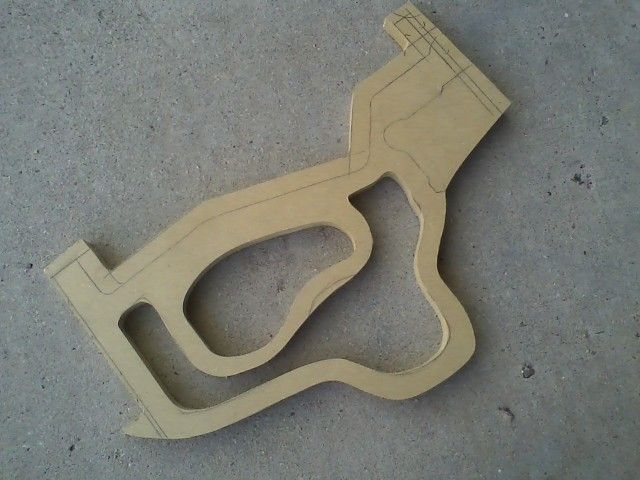
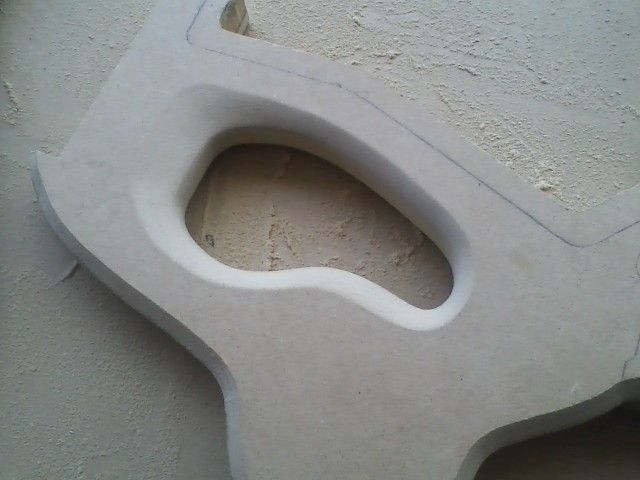
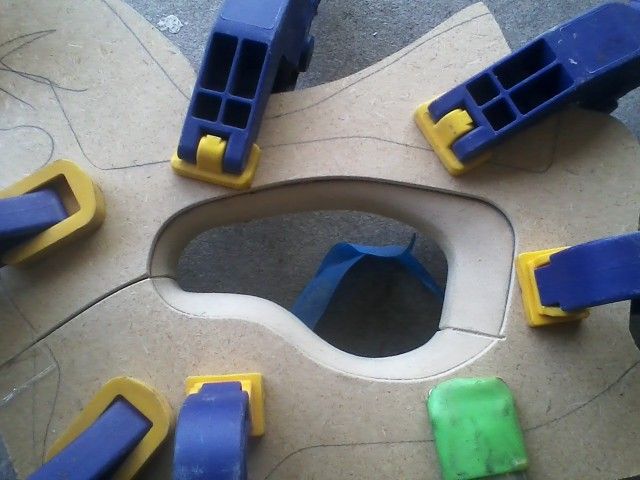
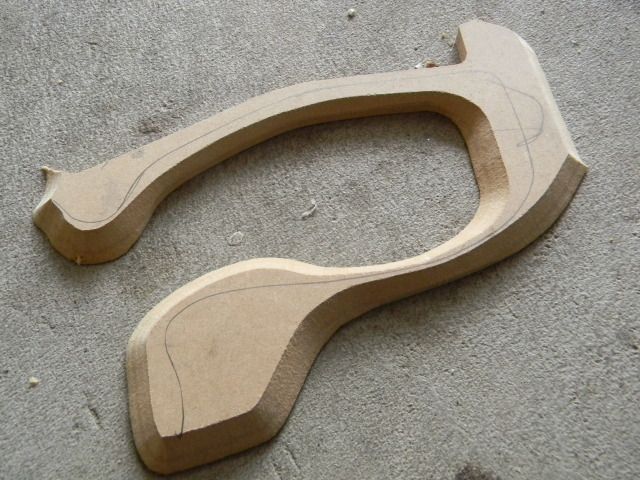
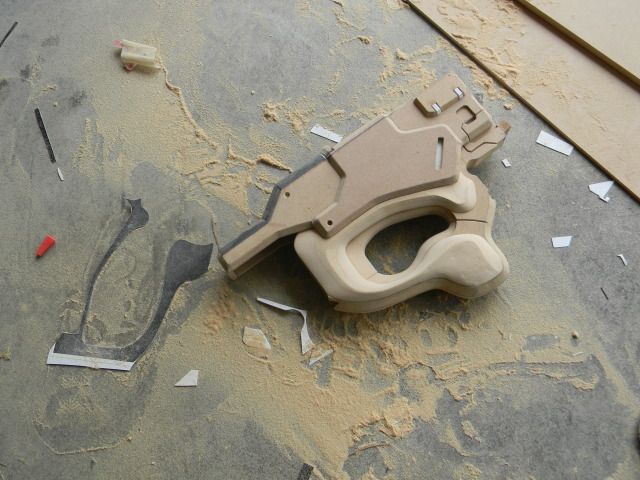
Next was the main body.
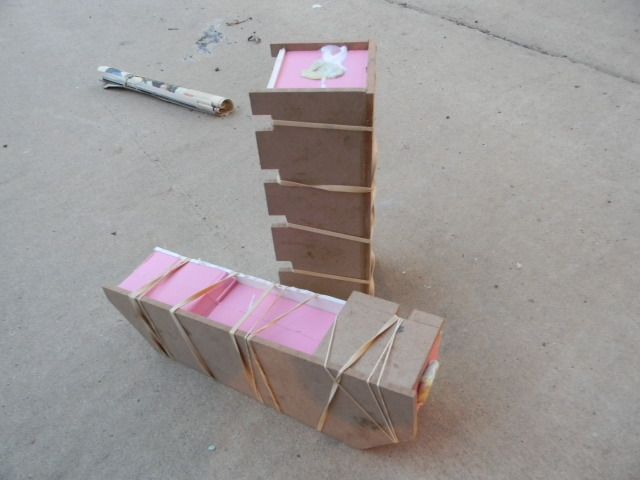
Layering the body/grip, then dremeling the bevels. 60 grit sanding drum, then 60 grit hand sanded, and skipped to 320. This picture has a 120 grit drum on it, but it just burns the MDF and gunks up the drum. Had to switch to 60.
bevel complete!
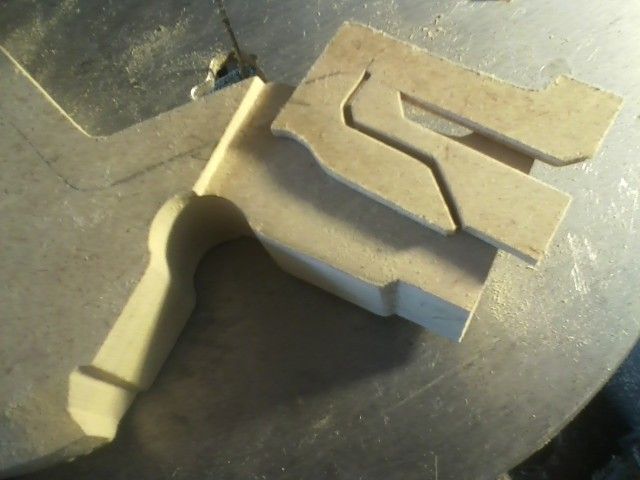
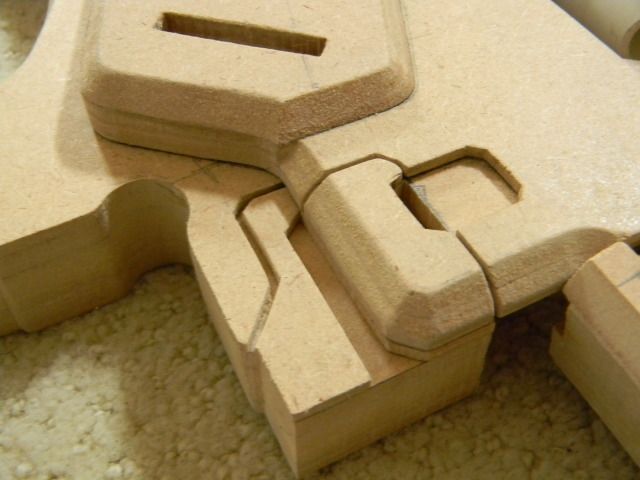
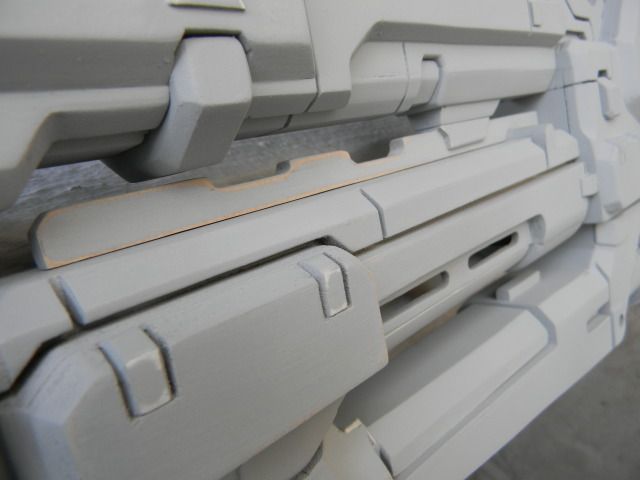
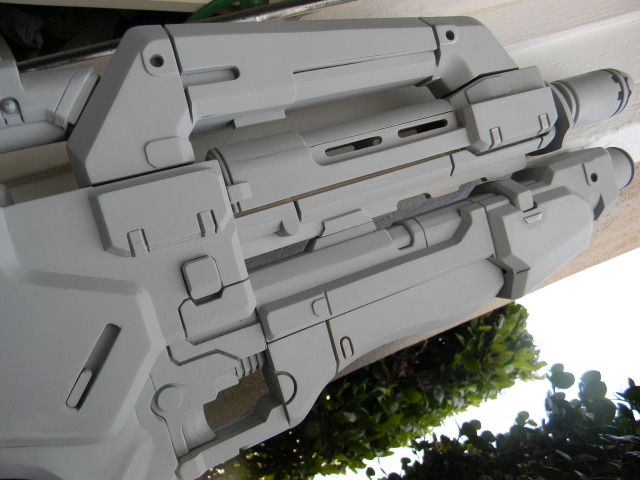
next layer, panel lines started
I forgot a detail section above the trigger when I laminated that 1/8th inch layer of MDF. I had to use a box cutter and cut a 1/8th in section out, sand it, and install the panel.
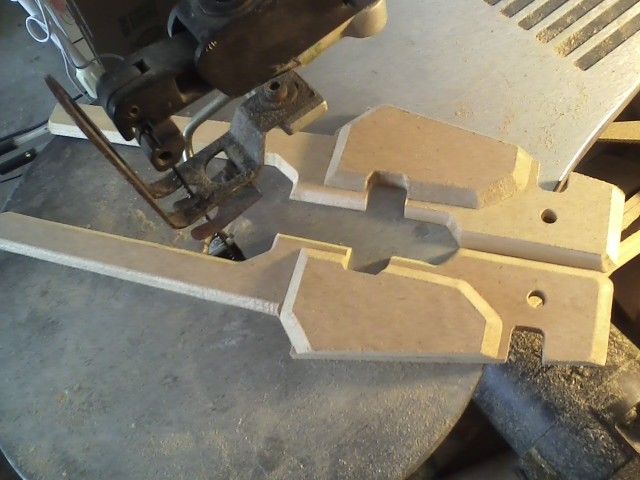
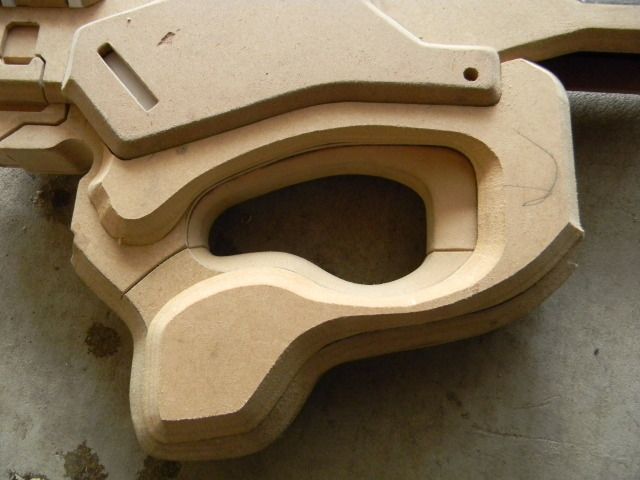
With that part on hold, I did the main nody side panels. this new gun is half swiss cheese.
My scroll saw cuts and bevels are getting much cleaner. Might not even need filler on this build if I'm lucky!
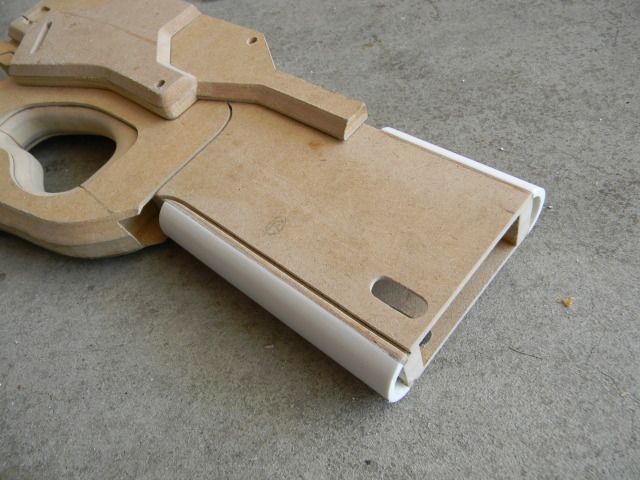
Here's how I layered the MDF on the outer barrel

More on that later..
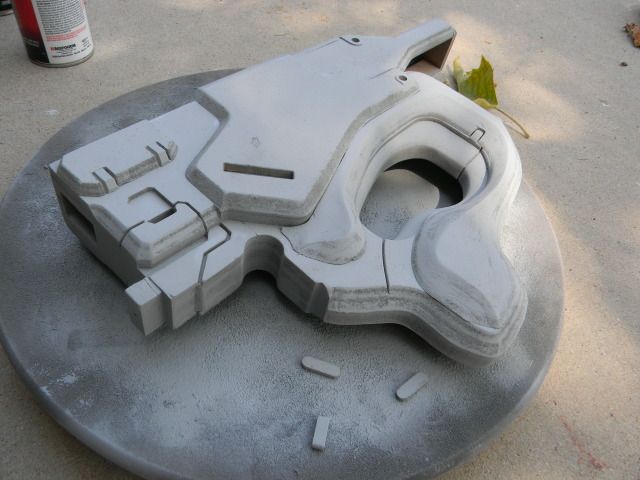
Lower grip!
I use my scroll saw to make risky cuts like this one because I usually cant find my hand tools buried in MDF scraps!
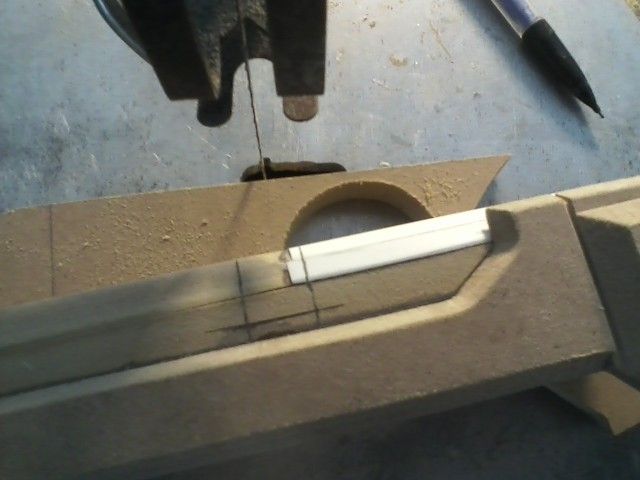
using styrene for teeny tiny bevel details for where that cut went
This part has a double bevel half way down the top. one at 30 degees and one at 45.
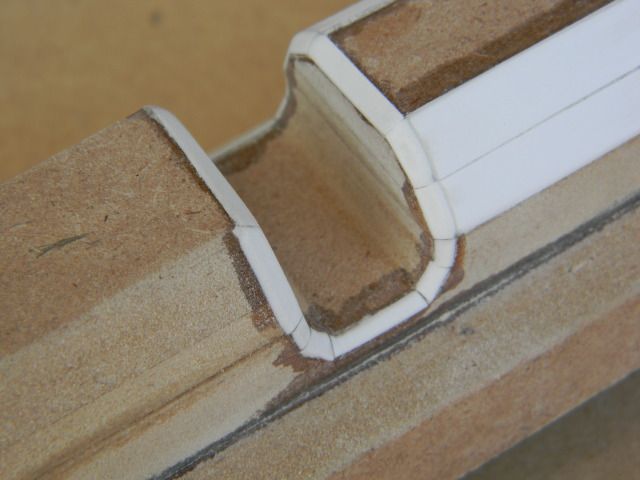
I layered styrene to preserve the detail in the otherswise soft MDF.
More bevels and detail
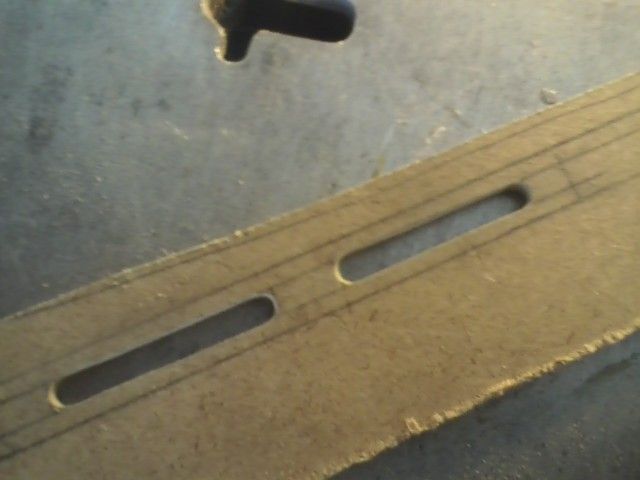
Lower grip skins. Those oval cuts were annoying!
The almost complete grip assembly
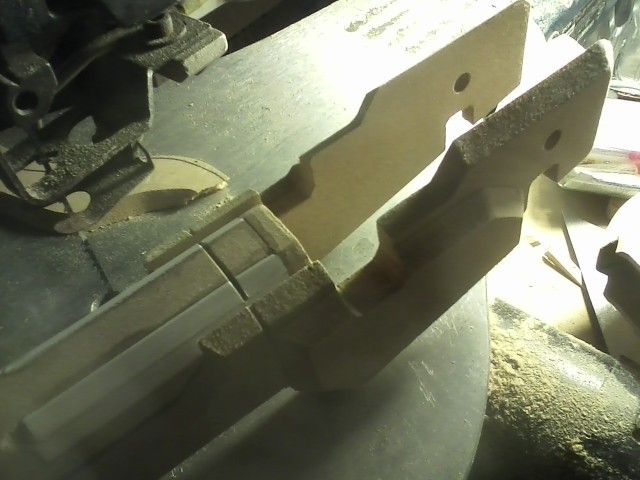
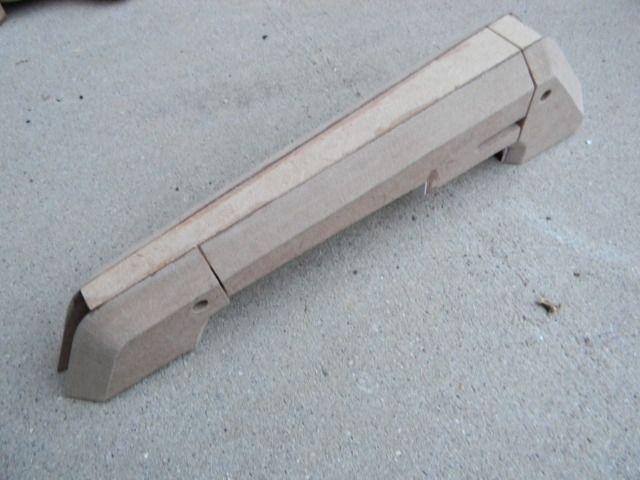
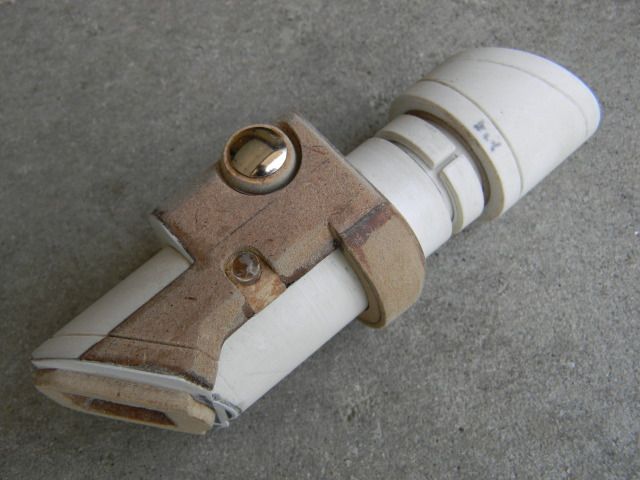
All right, more progress on the body/stock:
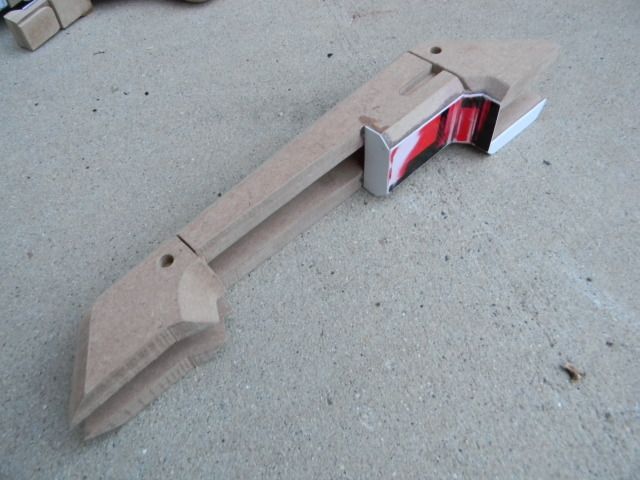
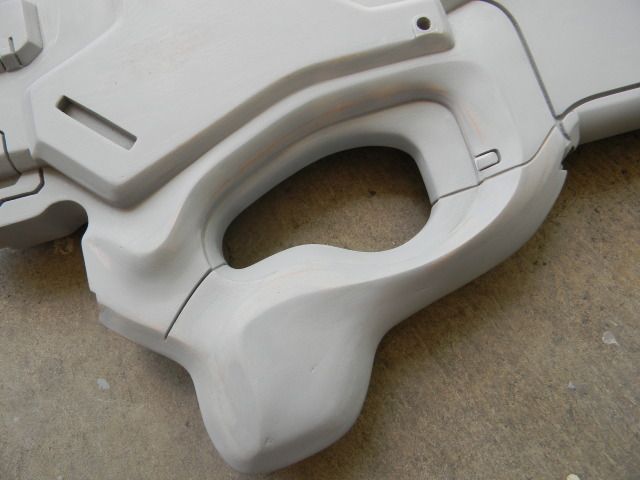
And the painful trigger assembly. I had to make a bunch of styrene rectangles and...well I wont get into it.
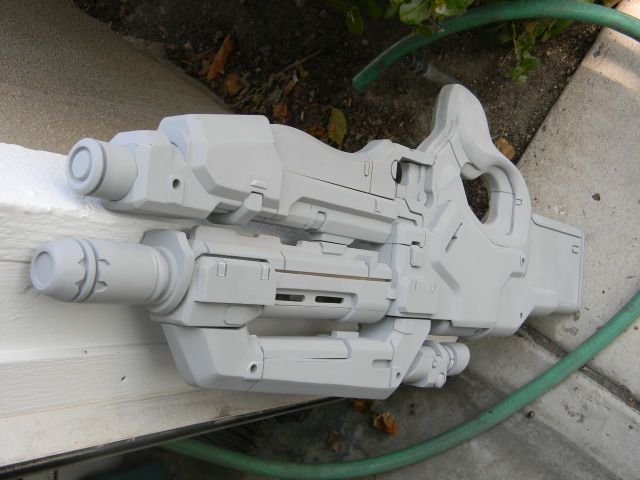
Where this all goes:
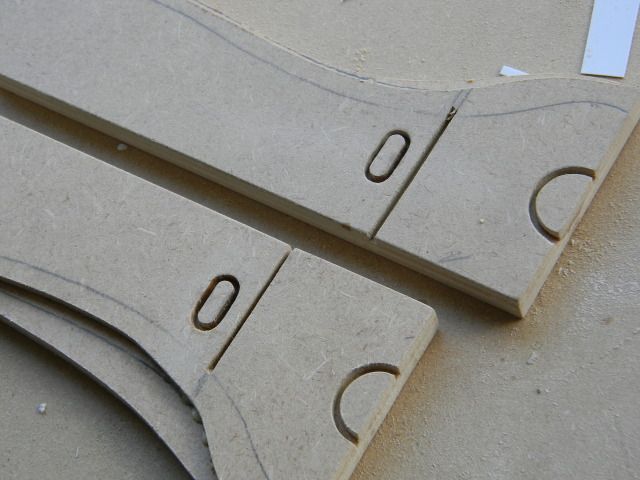
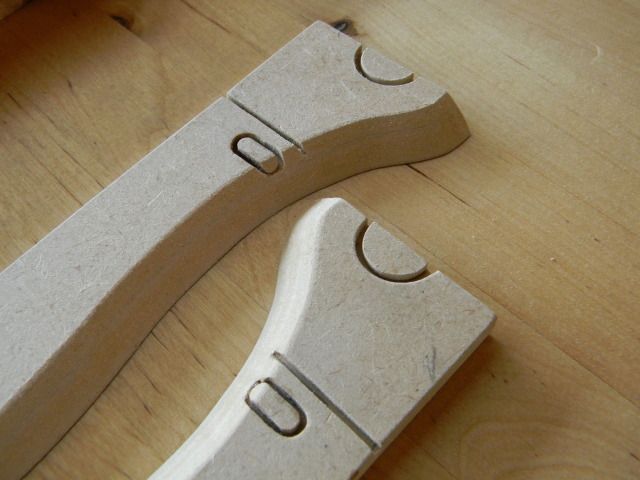
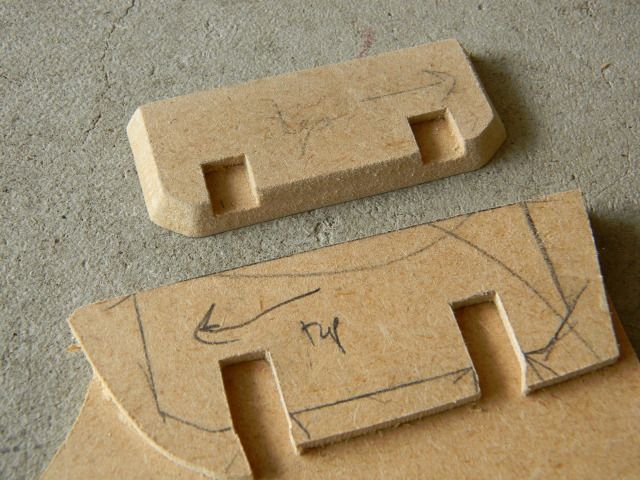
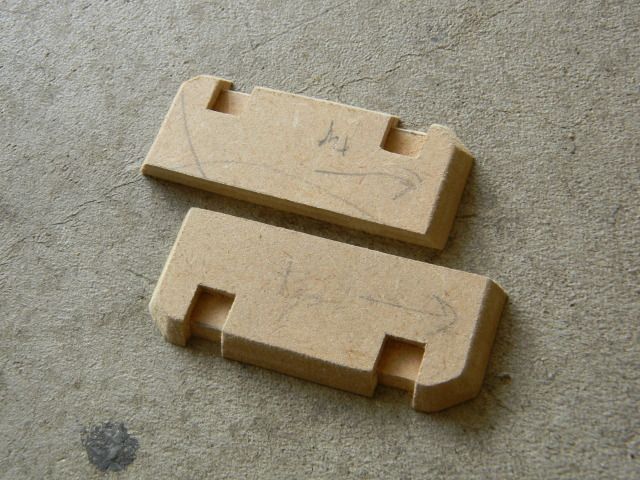
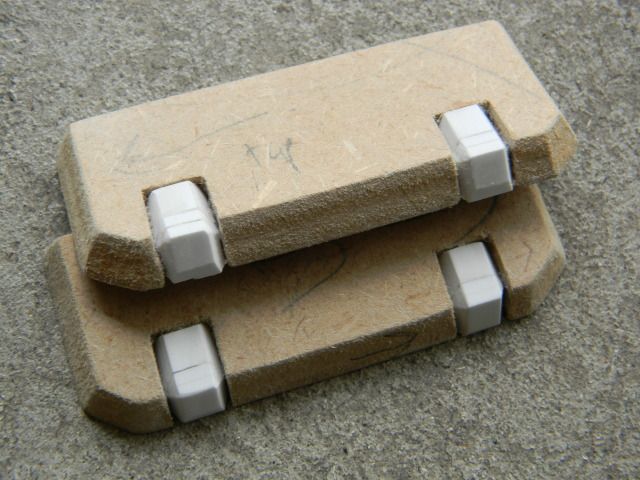
This part had to be made in two layers:
The styrene is 1/8th inch thick, beveled at 30 degrees, etc. and is a quarter inch wide. Pain.
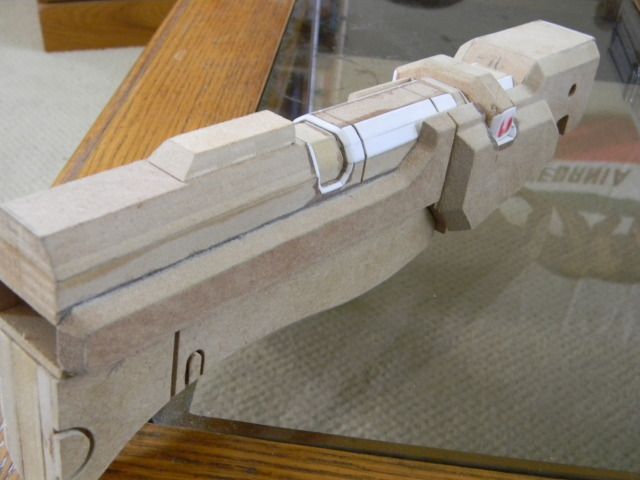
Here is it installed on the outer barrel assembly (with some progress on the rounds, etc)
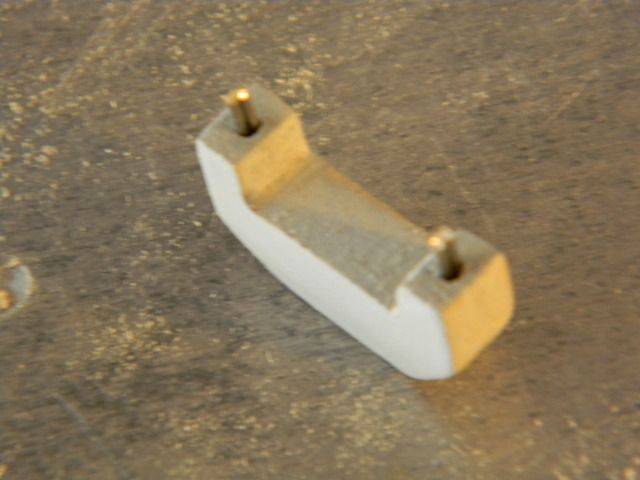
Carrying handle progress
hollow, skinned with styrene on the bottom
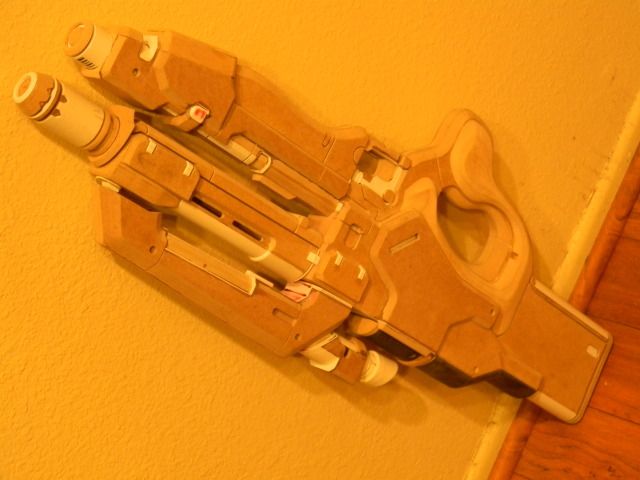
all together (ish)
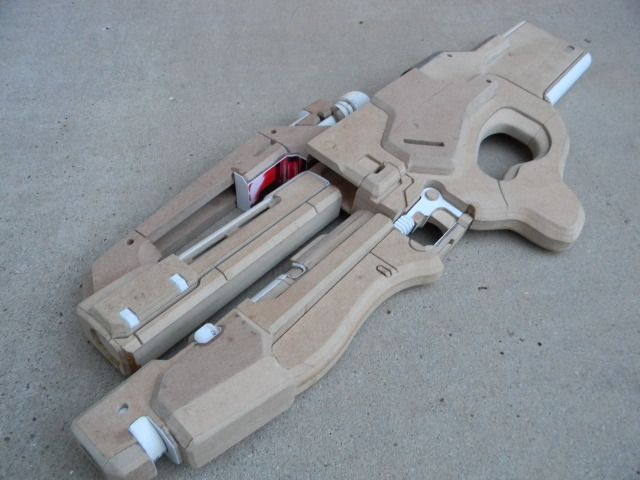
Onward!
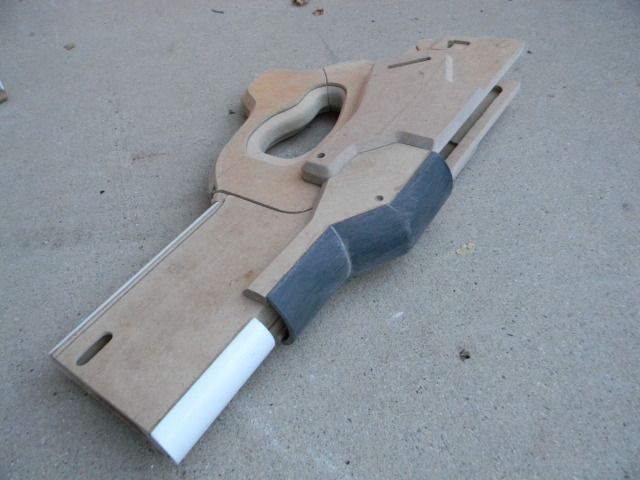
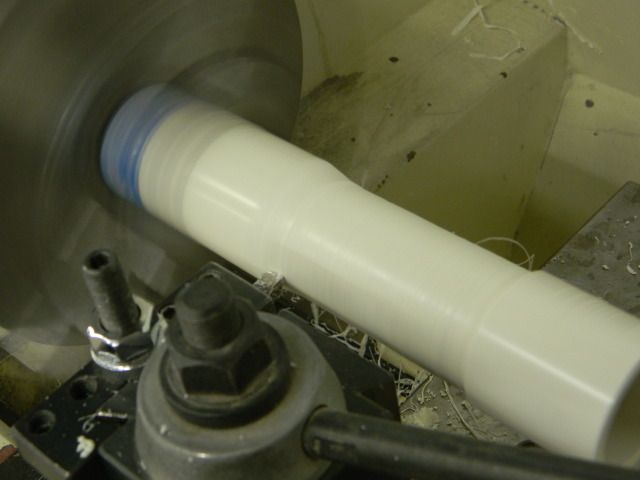
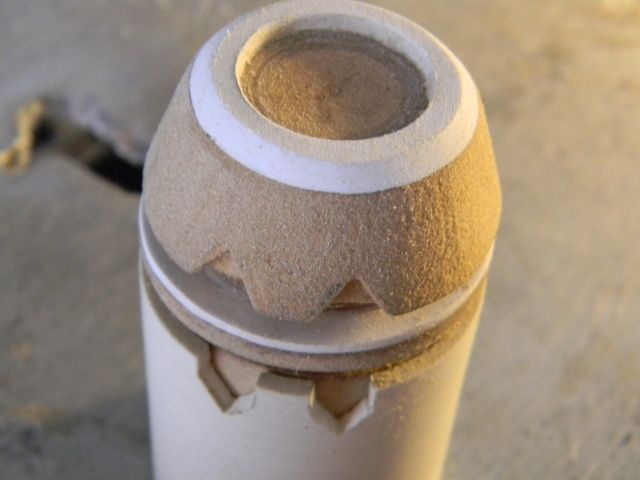
Turned some PVC down on a lathe. (yes, it smelled great!)
I wanted the diameter exactly 1.5" like the plans. Yes, I'm picky ok?
While I was at it, I turned this too:
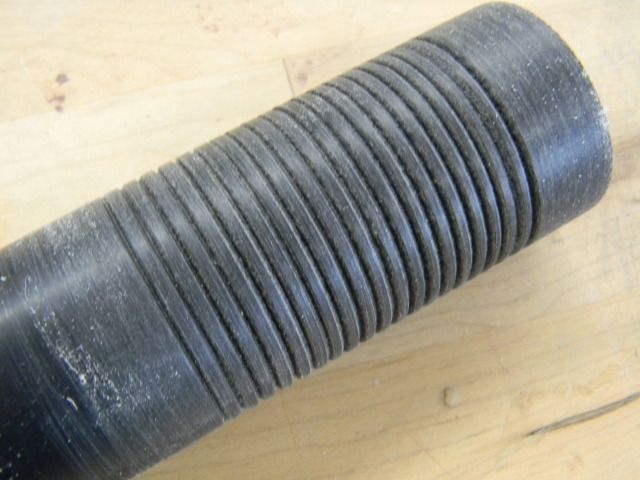
to make this
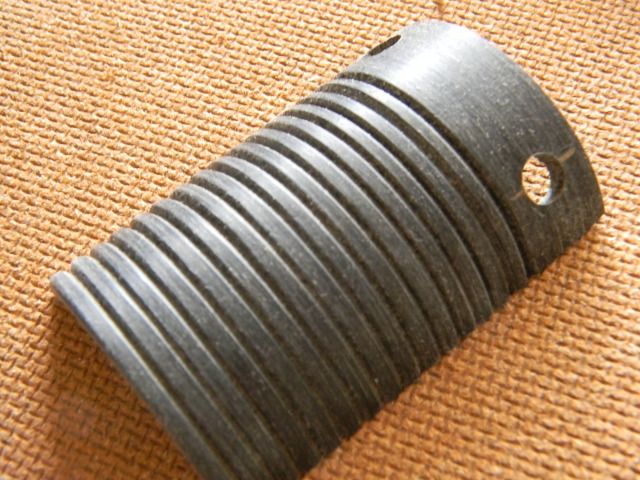
Then I could start the little cuts in the barrel. (made with a file and dremel. and patience)
and some other details
Then the grip. There was only so long I could put this off
breathe deep!
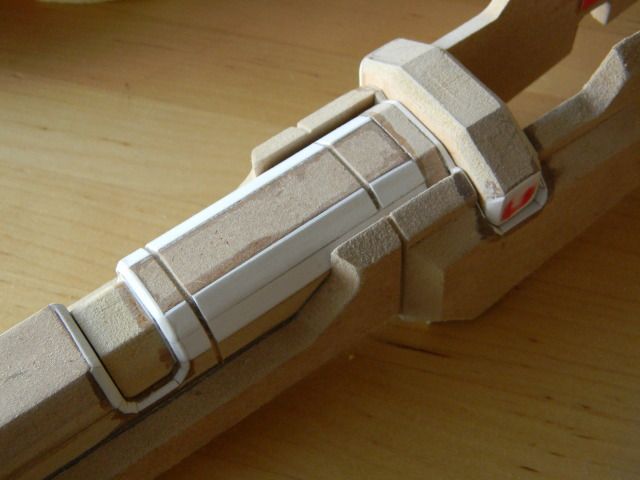
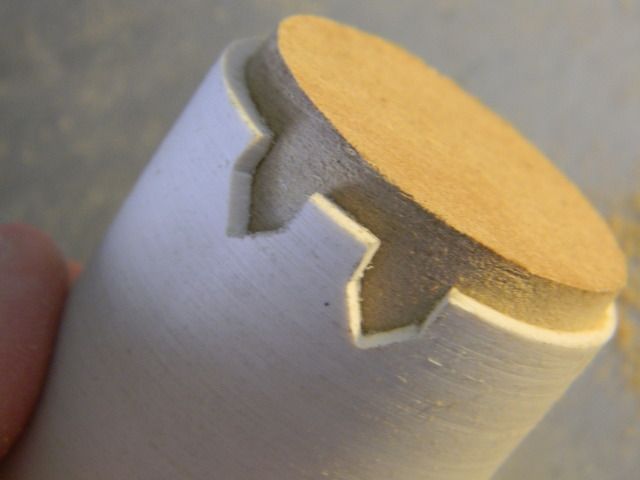
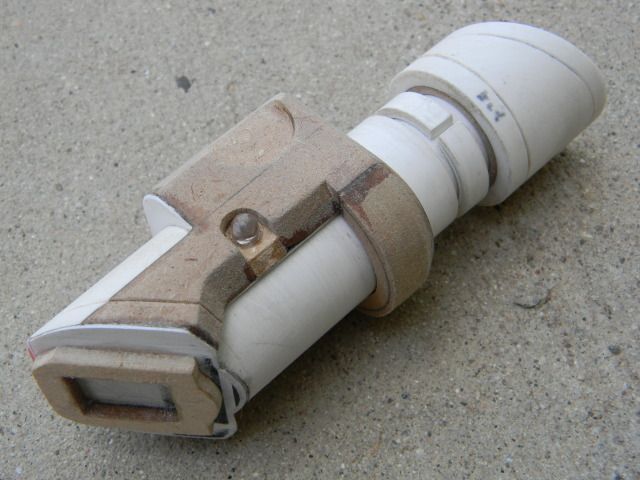
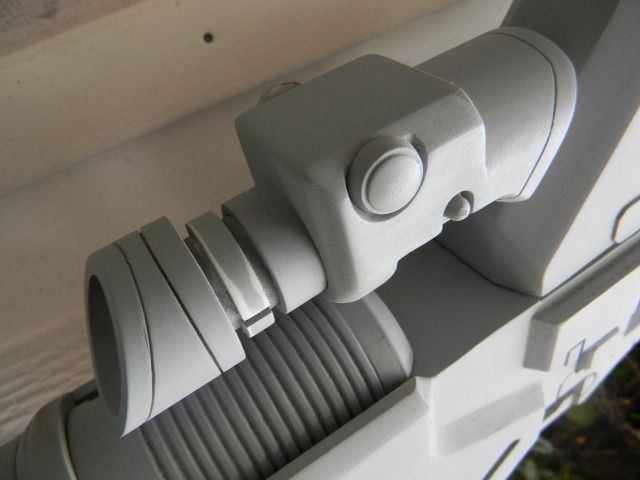
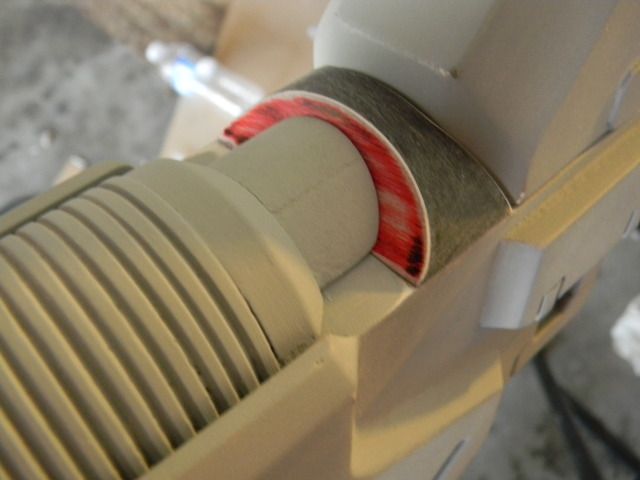
Little detail under the outer barrel
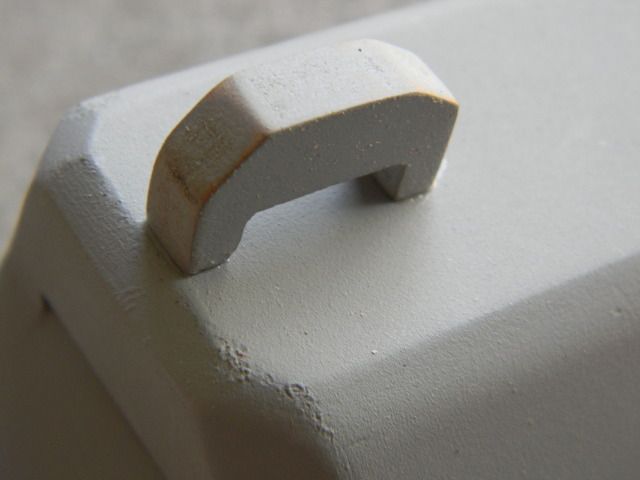
Need a registration key at the front of the carrying handle, and a few small details. Then its ready for prime/prep!
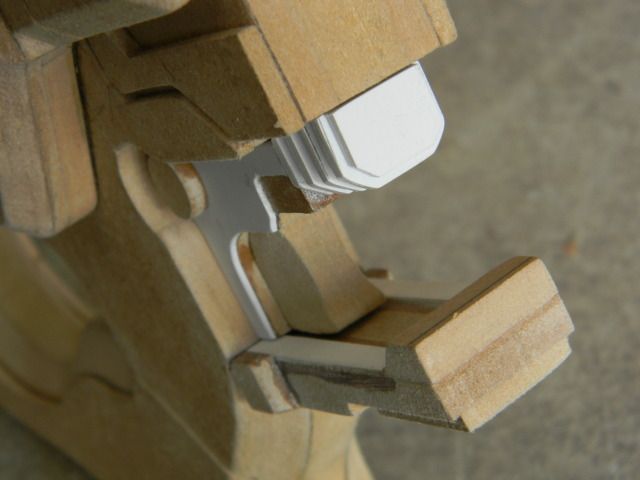
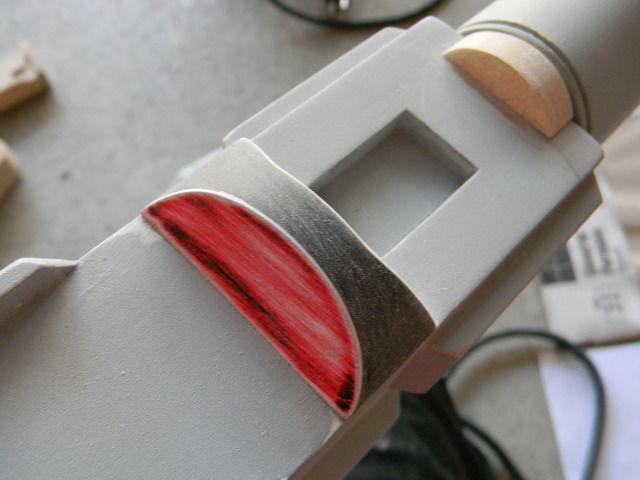
I wanted some cool details that were true to the concept art so I embedded a little LED in the recess on each side.
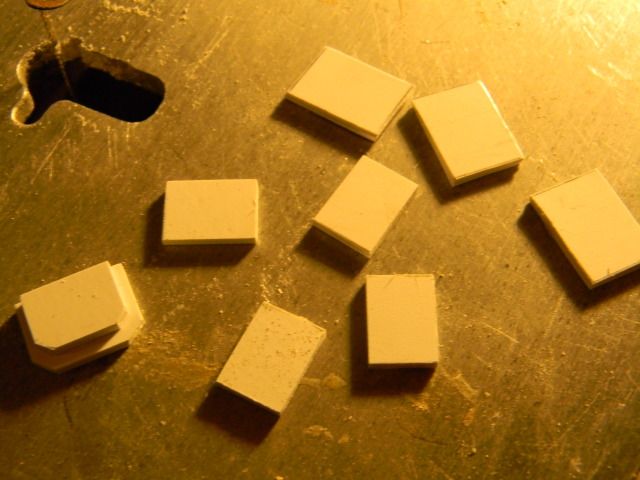
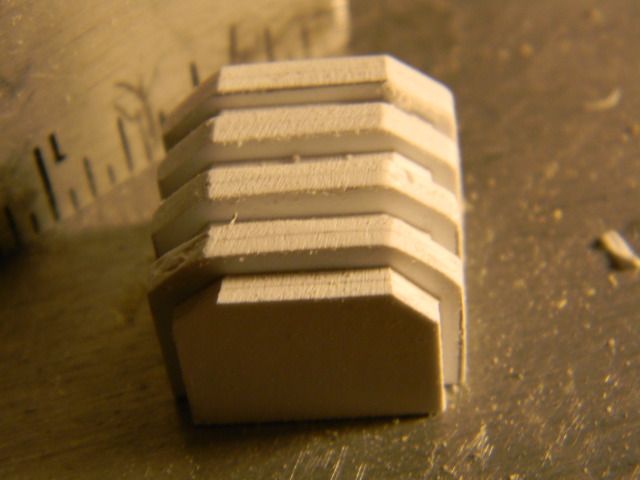
Then i used an aluminum oxide drum to sand out seats for the top side knobs.
The knob is made out of MDF and a thumb tack. I knew I bought those for a reason....
Then the most hated part of any project begins...
First coat of filler primer on MDF. Yuck.
light sand, second coat.
Moar stuff.
The main body was pretty nasty too. Still havent touched bondo. (doing later..)
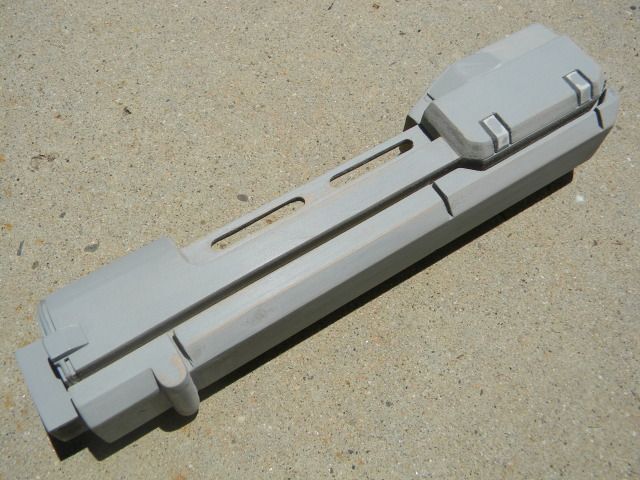
Details:
Still a LOT more sanding/priming//bondo to do, as well as a few half rounds near the carrying handle.
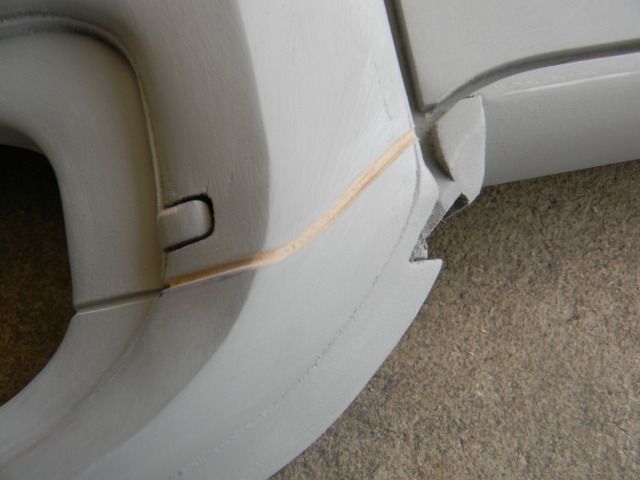
Panel lines, plus that nasty intersection where the body and stock meet. I took care of it later.
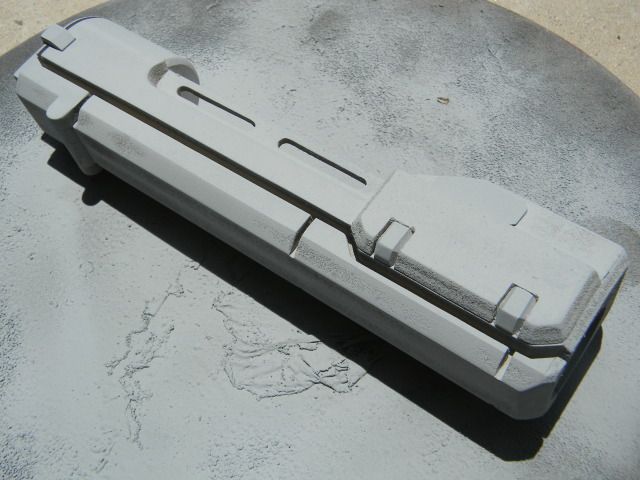
Graft complete! I seal this stuff by multiple coats of filler primer as well as sanding inbetween layers.
Another panel line. I just use a razor and sandpaper for these

little sling mount near the foregrip. we only use the best materials here at Zprops (sections of a safety pin for pinning)
installed
Hours and hours of prep
New detail under the carrying handle. I like how it turned out

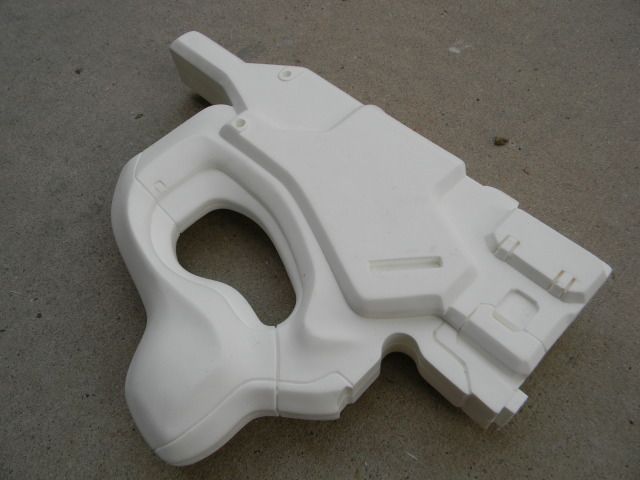
Top detais. This section comes out for clean casting, as well as being able to dremel out whats underneath to install LEDs etc in the main body casting
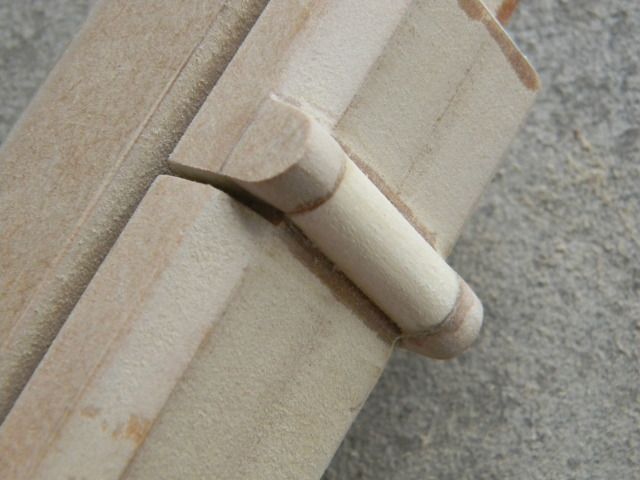
Its a really tight fit for the carrying handle to mount here. This is a good example of the registration keys throughout the build
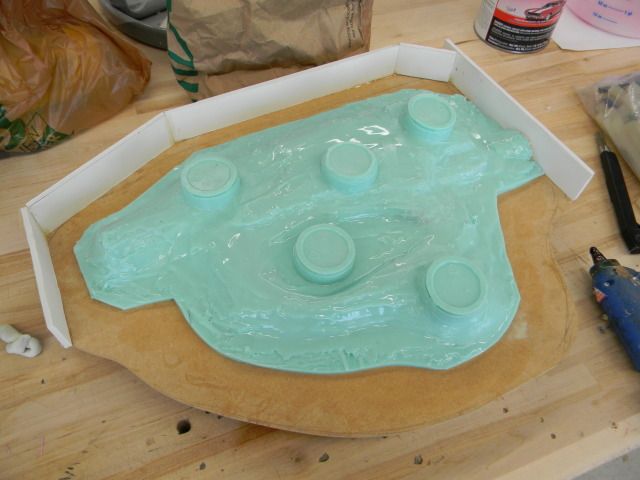
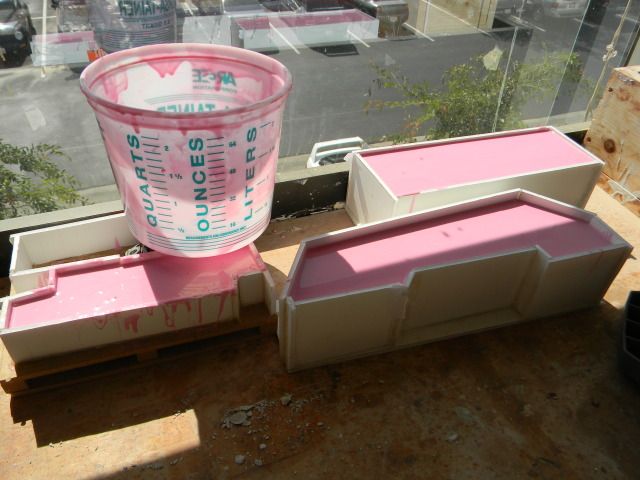
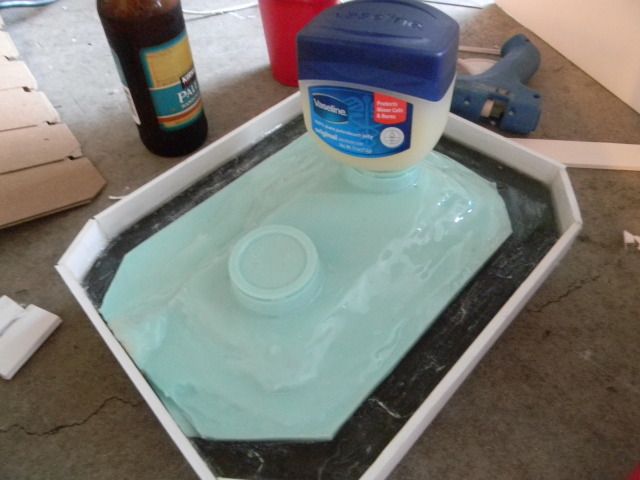
Special thanks to Matt Munson, Harrison Krix, and Eric Jarman for the molding tips. Of course, I had to put my Zprops spin on my molding method. Molding meets MDF, and it worked quite well. For my first molds ever, I'm quite pleased with these.
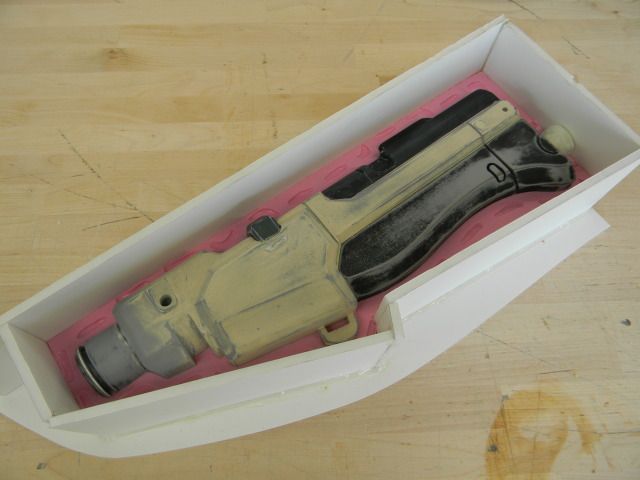
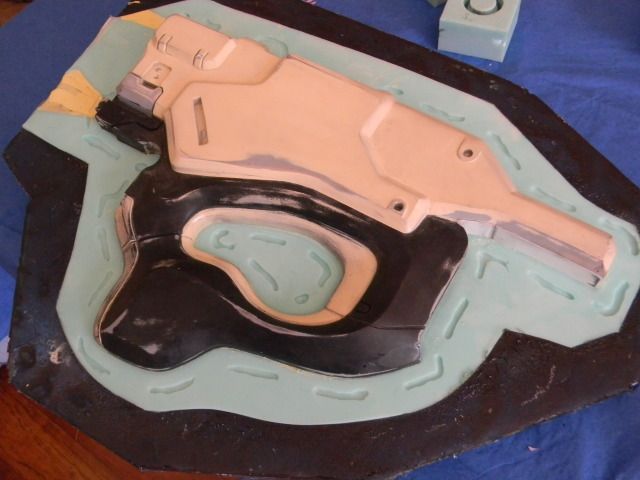
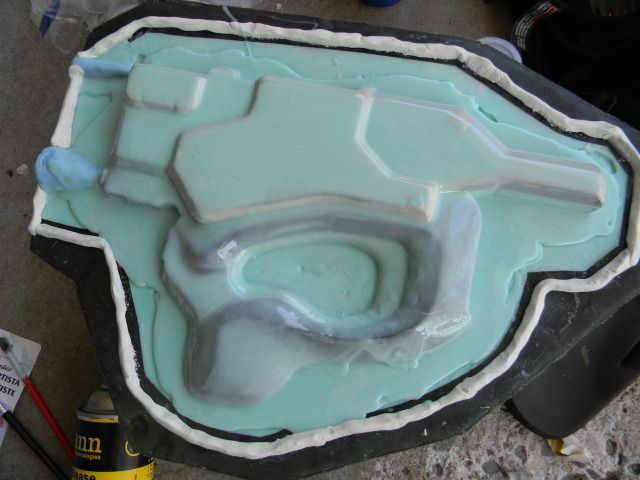
First box mold half. No bubbles, etc!

Mold jacket for the mattock receiver. I blocked off the edges with foam core.
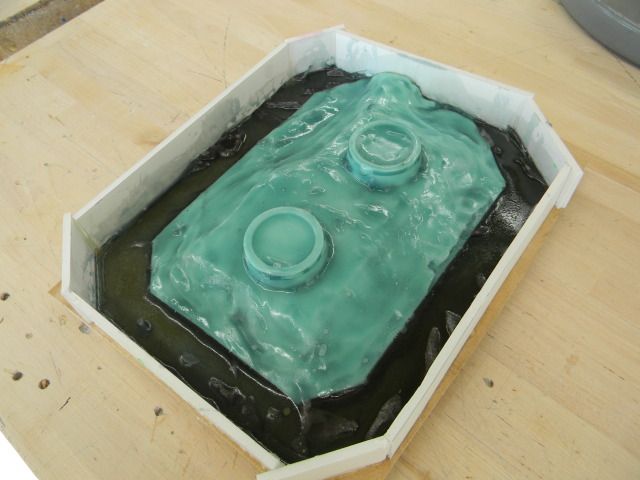
then I coated it with vaseline and did two layers of fiberglass cloth. I did the same for the stock.
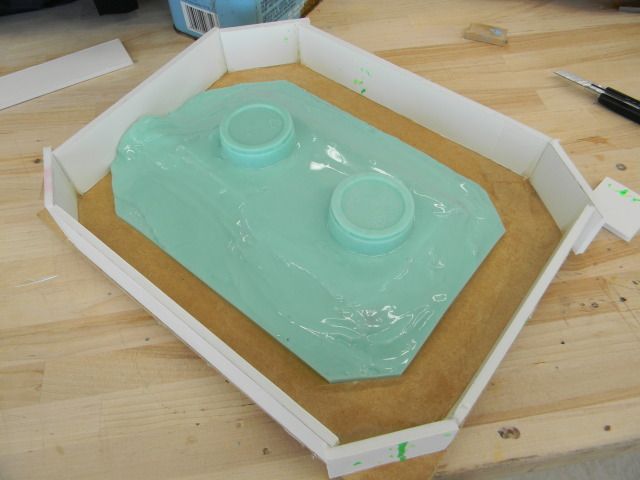
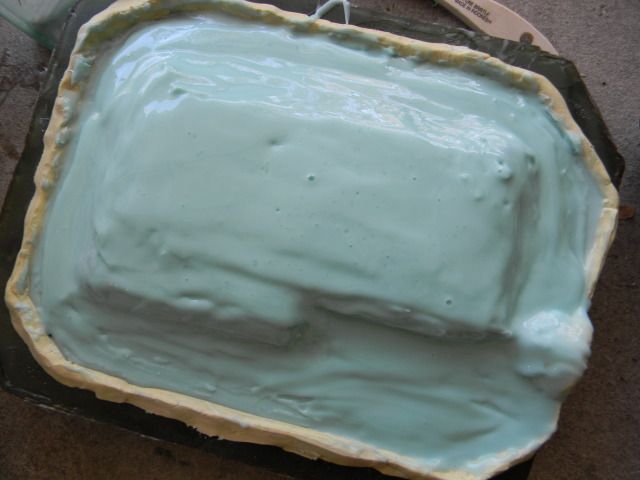
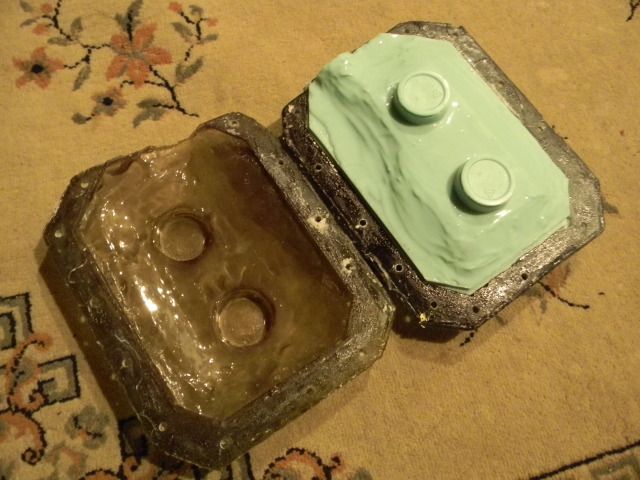
Heres the other half of that box mold being prepared. I have to make new walls out of foam core each time using my method, but its worth it to get perfectly flat "mold floor"
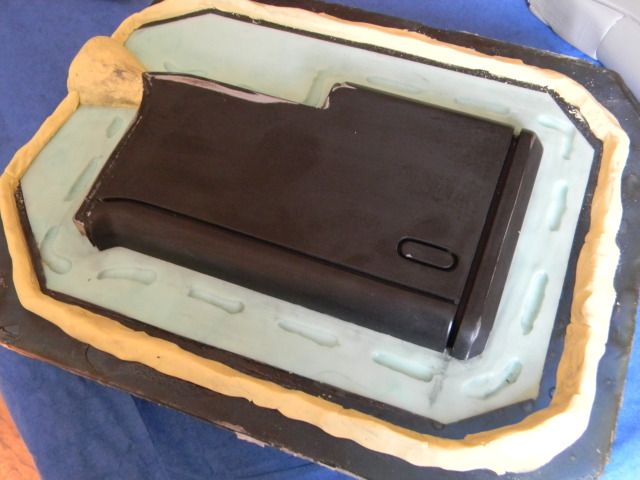
Poured:
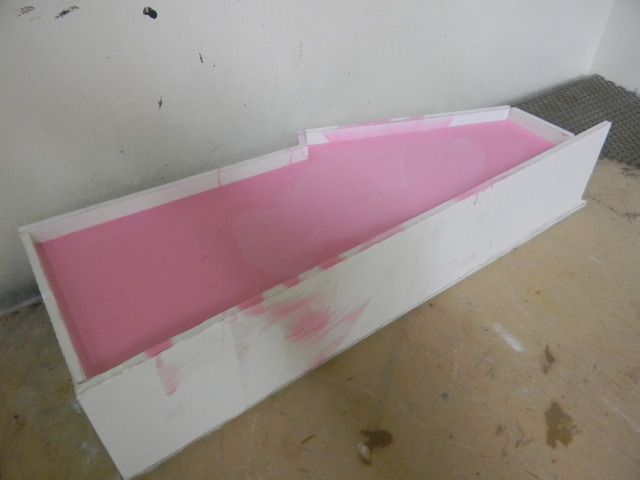
No clean up.
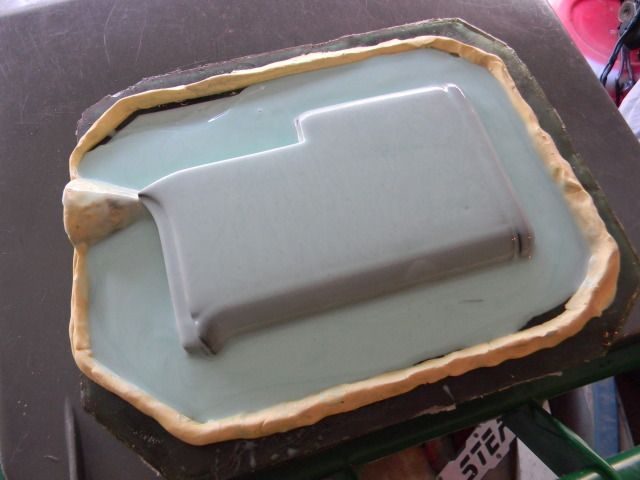
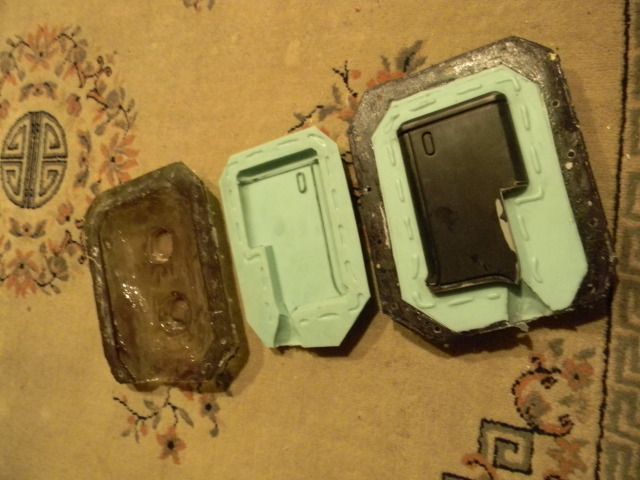
I waited a few days for that box mold to be done before I did the rest, In case I did something horribly wrong. (although I de-gassed about 4 or 5 times for each batch of silicone. Kinda makes it hard to mess something up I guess)
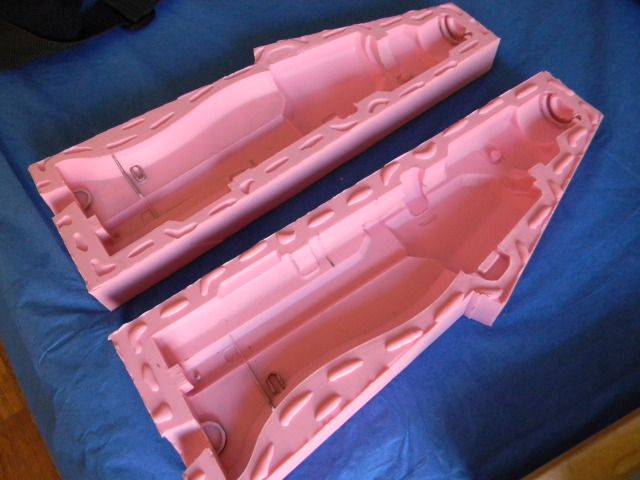
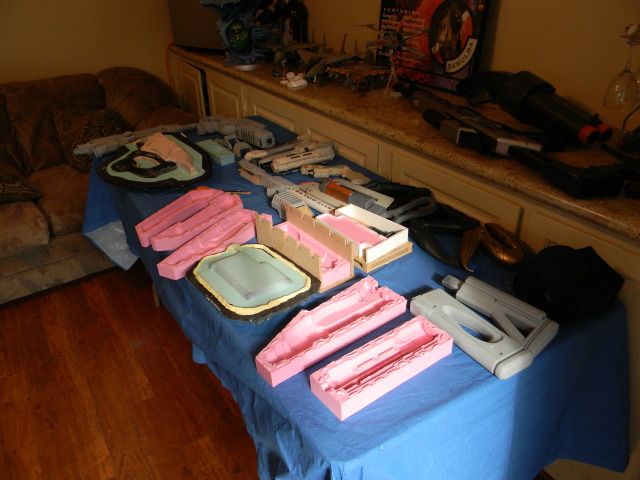
Prepping the other stuff. Did all the pink molds with 1 gal of mold max.
should I do a molding write up? I have a lot more pictures.
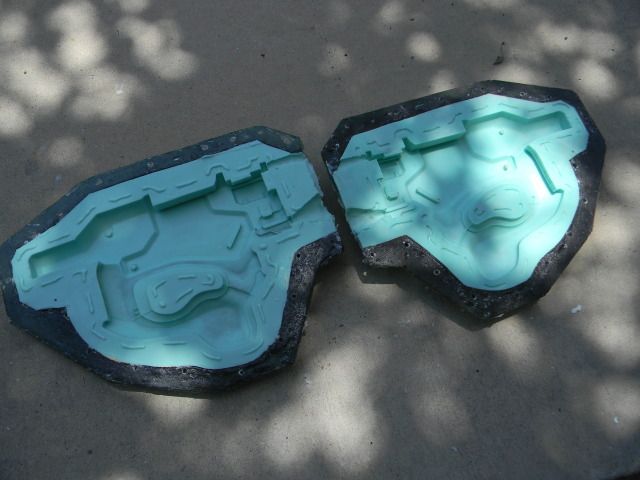
second halves curing
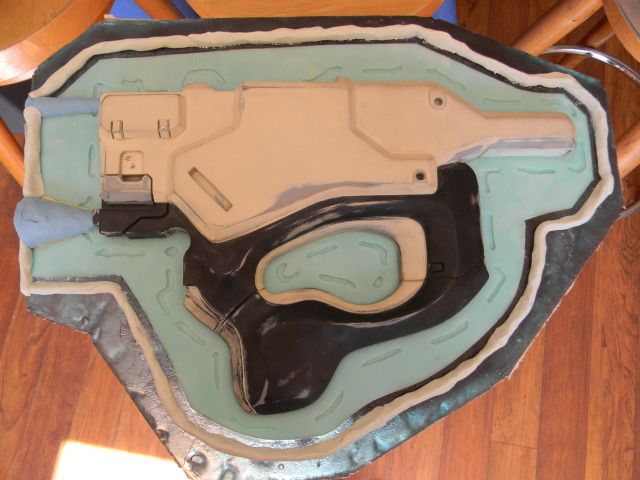
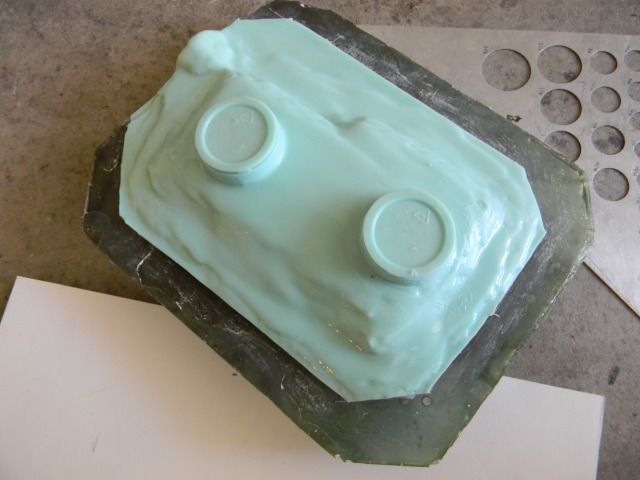
Back to the matrix mold. The jacket is flush with the silicone.
same with the stock. I made a little clay barrier to stop the flow of silicone, and I know where to cut it for the mold jacket
Busy Busy.
Herp Derp!

Pew Pew! I never got around to finishing my own V2 Mattock, but 5 years later this happened.
It's not over yet!
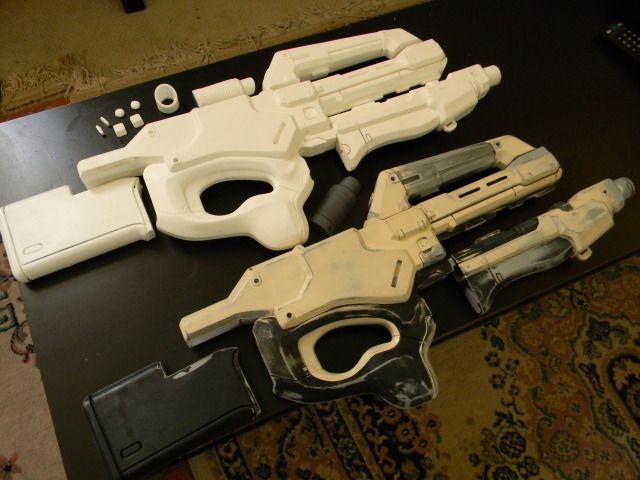
The Mattock got a makeover for Mass Effect Andromeda. This version is called the Halbred V. So far, anyways. It can be seen very briefly in the exploration trailer.
Logitech G approached me and wanted three of their special kin variants done for Pax East 2017. With only about 15 working days, I got to work.
The receiver got the biggest change. The stock is almost three inches shorter. I dug up the old master from 2012 and got to hacking!

The "tail" is also shorter, so I had to hack that and make a new cap.

There are new panel lines and details for this design. It had to be re-molded anyways, so I figured now s the time.


The screw insets I did as protrusions the first time around. This time, I wanted proper recessed details with the larger hex socket screws. I went around and did all 8 locations over by carefully dremeling out some MDF and insetting styrene.

Screw holes carefully drilled out and tapped

Things really started picking up from here. I didn't have time to re-do the screw locations on the front of the gun. Instead, I spent the time on the scope and photo documentation started lacking. You can see the proportion differences here, and the scope now has a support , is also shorter, and has more details.

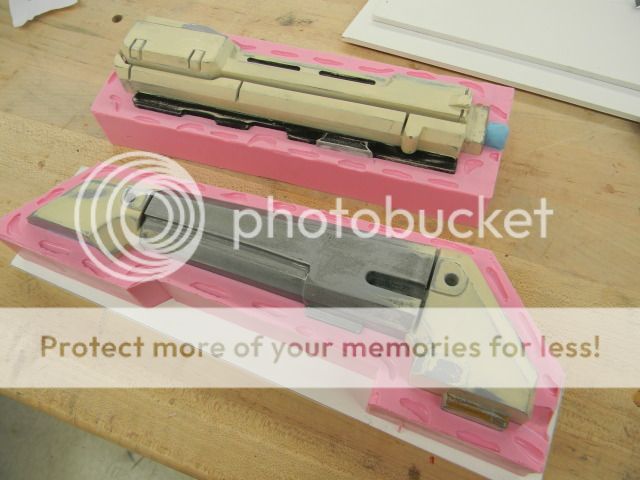
Molding!


I pulled a set of 3 casts, all in smooth-on anyx fast resin. The thinking here that I could leave the black parts black to slightly save time on painting and so that when the gun wears, since they will be handled a lot, it will scratch black instead of white or light grey. On theory, the grips , barrel tips, etc will never be needed to be touched up.
All of the LED holding parts got sanded and routed for wiring before assembly. I ran some spare wiring through the gun and tied it off. I did this for all 8 LED locations.


The in game paint scheme called for a very very dark charcoal grey. So dark that you can barely see the contrast with the flat black grips. My contact at Logitech felt the gun had more of a dark blue base, so I settled for this grey which is lighter and has some blue tinge to it. Since it was lighter, I could do my trademark pigment weathering all over the place.
I also decided to go with a matte/satin finish, as it shows off the surface geometry a little better in the light, especially the grip/stock area. Anyways, this is before final weathering touches and metallics. You can see all of the wire ends tied in their locations for lighting.

The lights themselves had little clear inserts, with a teeny tiny hatch texture to them. In one of the stranger feats I've accomplished, I sanded the back of a screen window section and spray glued it to some sealed MDF. Then I made a mold of this panel, and cast it in some standard fast resin.

I cut out the resin panel into some custom shapes perfectly sized for the recesses.

Then, I made a few molds of those, and poured some epoxacast clear resin with just a hair of blue tint. Once cured, I drilled out a hole behind the gems for some tiny 12v 3mm white LEDS. The wire routing I did earlier made this task drastically easier. The first however, was just too skinny. by having the LEDs face out for maximum brightness, they cant fit. the tail ends of the LEDS poke each other out of the gun sides. The only other way to light the front would be to hack off the front section like I did on the Harrier, make a custom light box, and re-seal and repaint the area on all three guns. This was a fast project, and just wasn't possible with the time and budget so the front lights had to be skipped.
The guns got magnets to hold the top half round detail in place, which was pinned through the scope as well. To change the battery or access the curcuit, all one has to do is pop off the scope/top panel with some light force.

The guns have individual serial numbers, too!


I'd like to thank Ryan Wells, Abby carter, Dani Yuan, Eric Jarman, Matt Munson, Eric Newgard, Michelle Chiang, and Harrison Krix for the help and/or advice on any of the versions of this gun since this gun's inception in 2012.